Instructions for creating Facebook App
Go to Facebook Developers (you need to be logged into Facebook first).
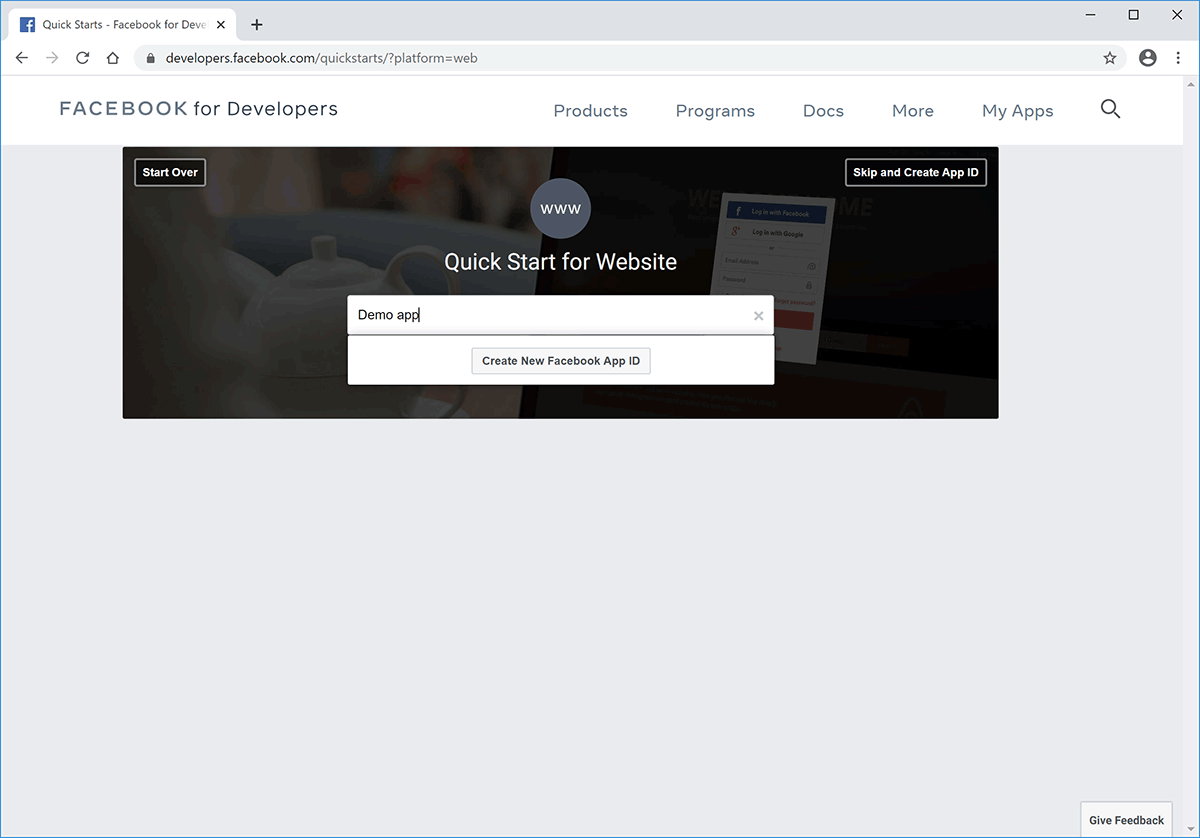
Enter a name for your App and click "Create New Facebook App ID" button.
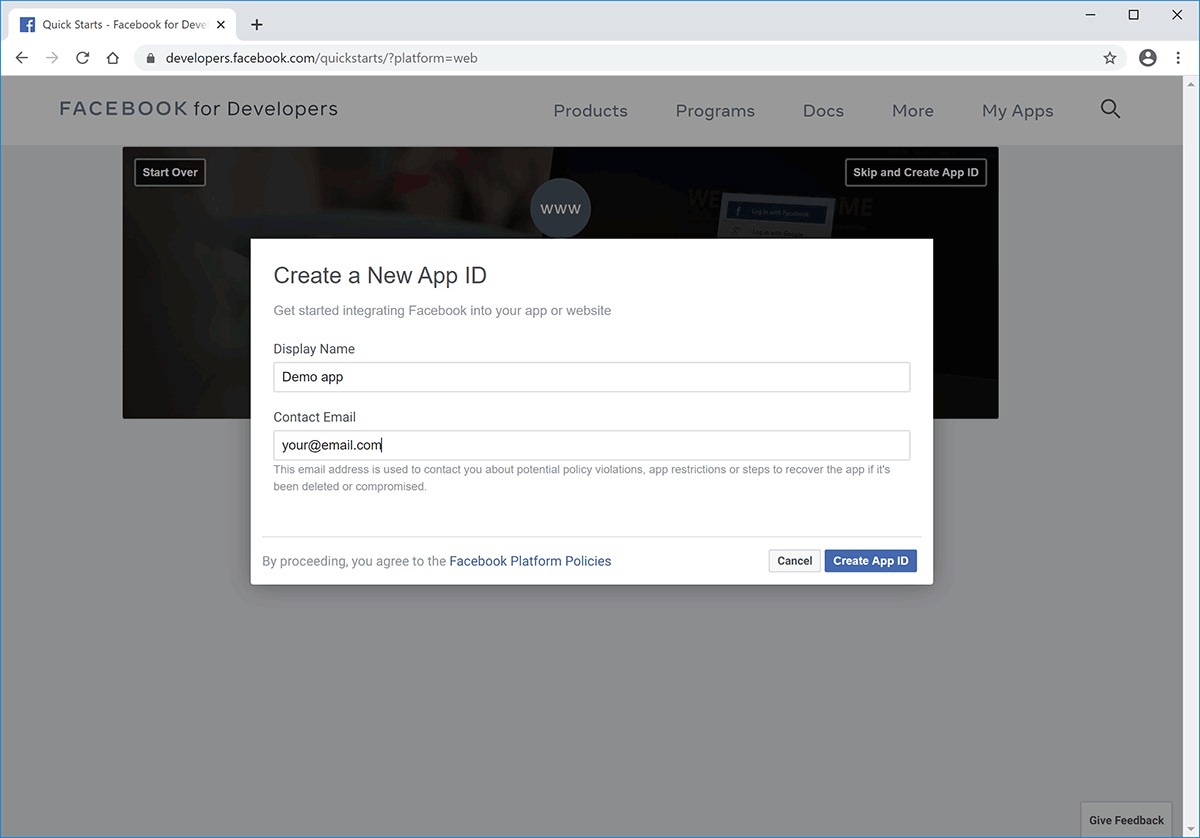
Enter your e-mail address and click "Create App ID".
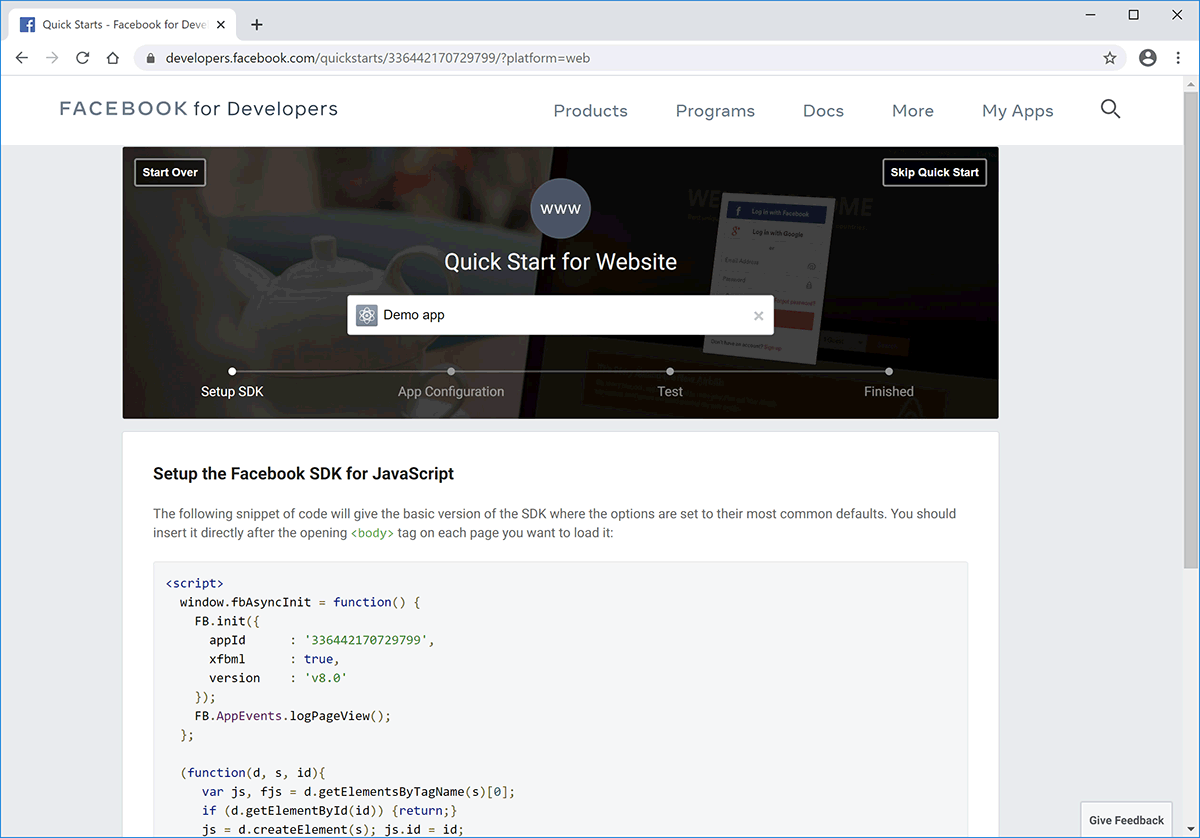
Your App is now (almost) ready. A new screen will appear where you need to click on "App Configuration" or scroll down to "Tell us about your website" section.
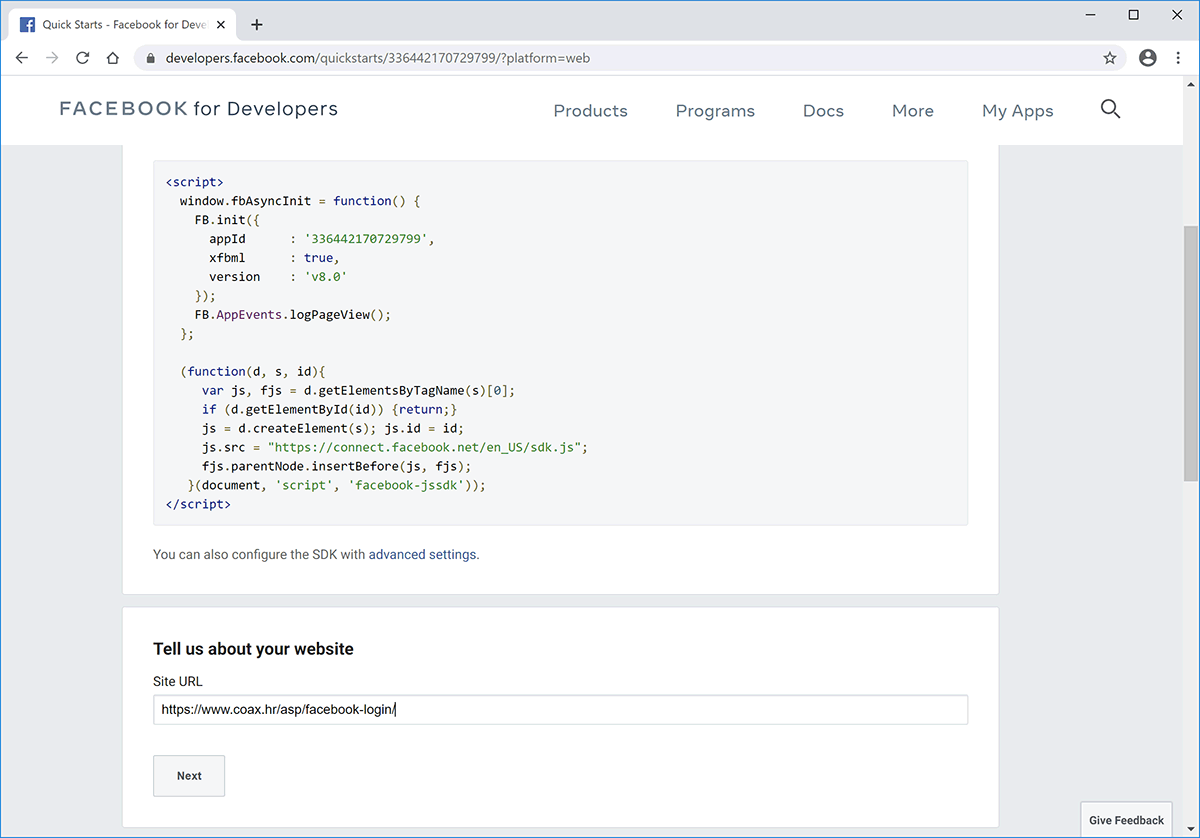
Under "Tell us abour your website" section fill in "Site URL" with your working URL where the script will be installed. Click "Next".
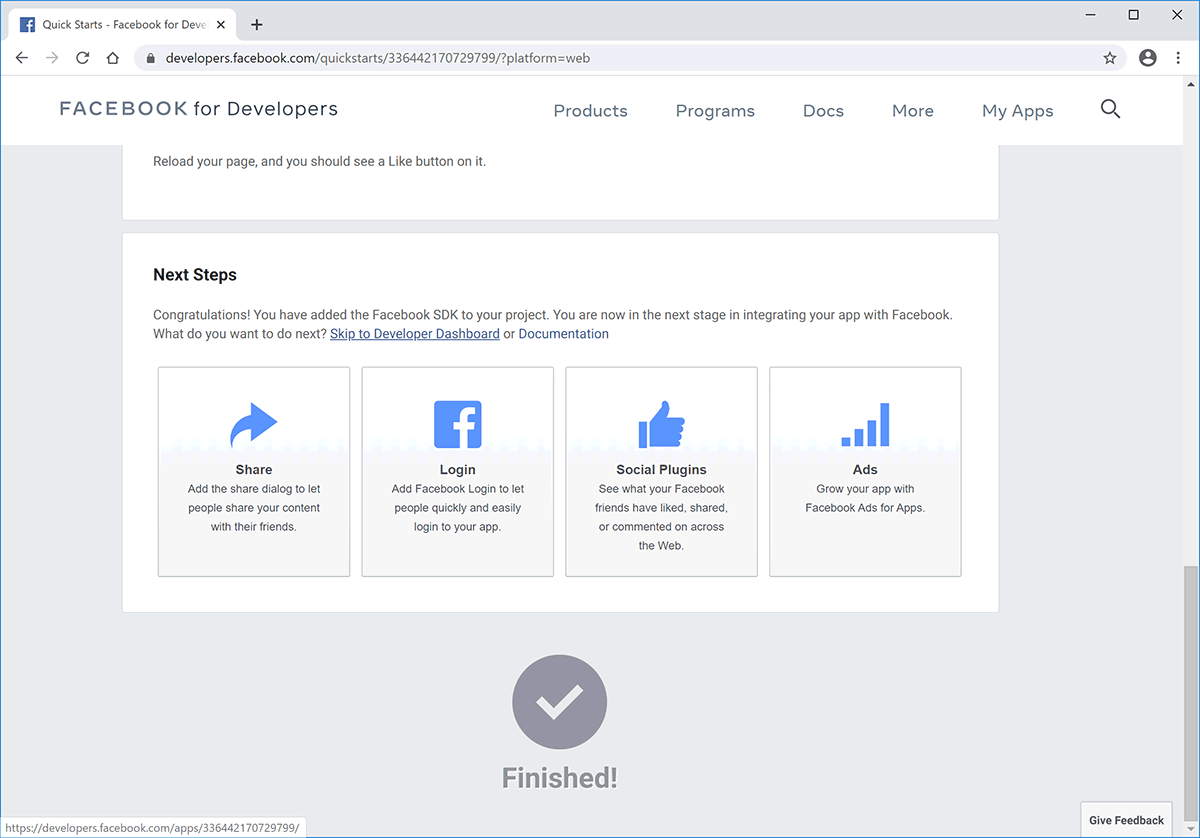
Your App is now ready. Scroll down to "Next Steps" section and click on "Skip to Developer Dashboard".
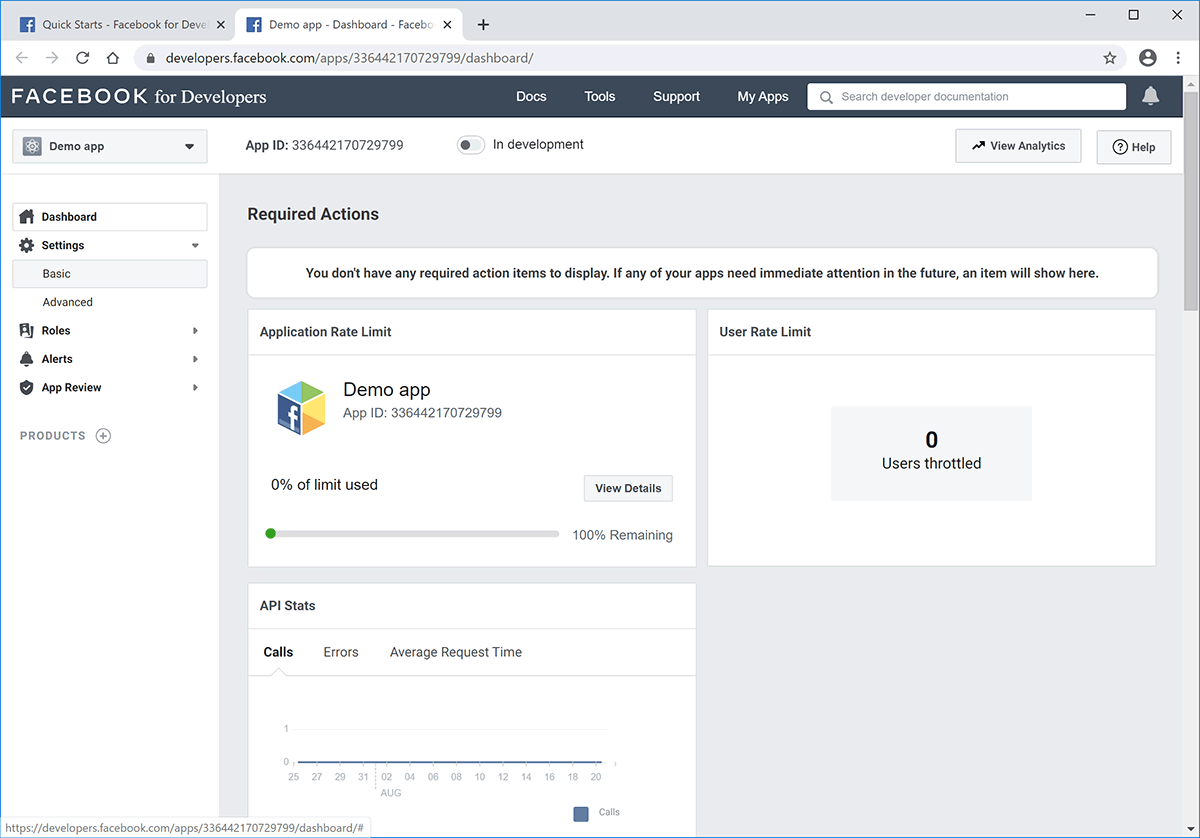
You will be redirected to your App's "Dashboard", from left navigation click on "Settings > Basic".
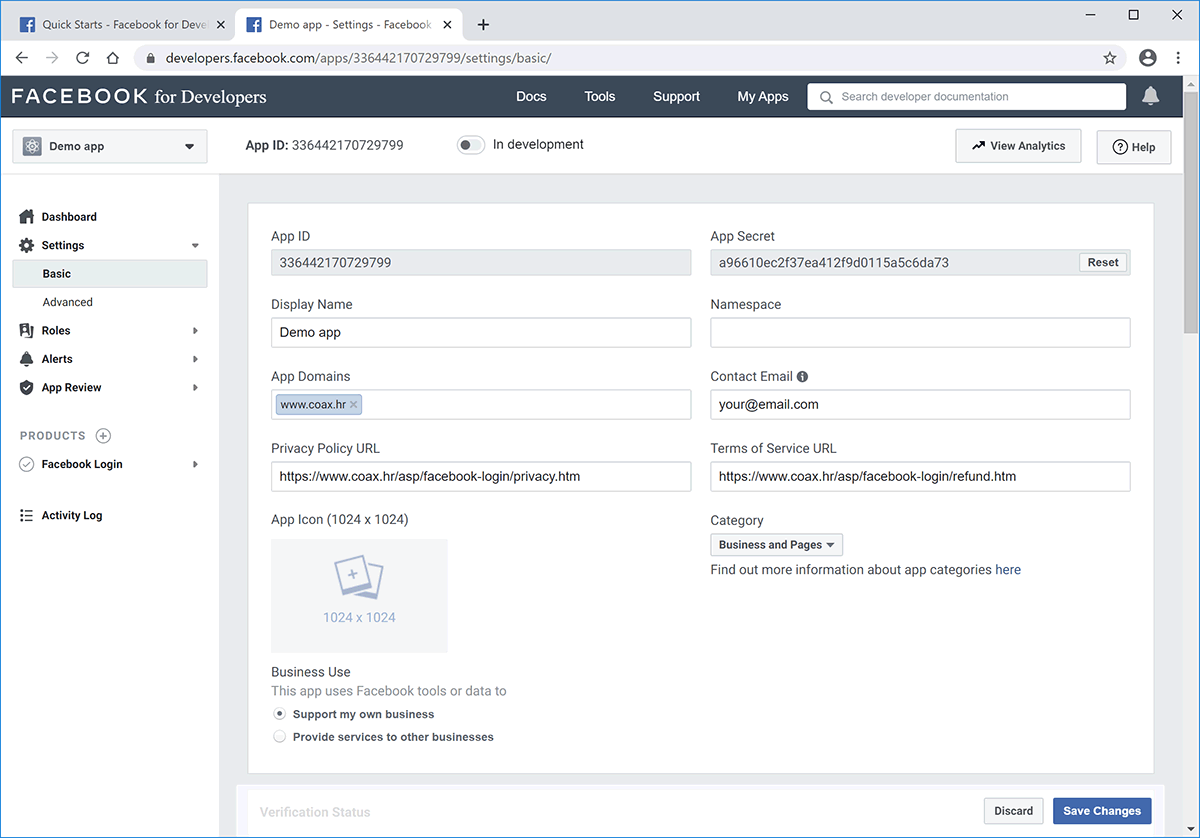
Copy "App ID" and "App Secret" into lib/facebook.asp, then fill in "App Domains", "Privacy Policy URL" and "Terms of Service URL" fields, choose from "Category" drop-down, then click "Save Changes" button.
This is a good time to upload the script to your website via FTP.
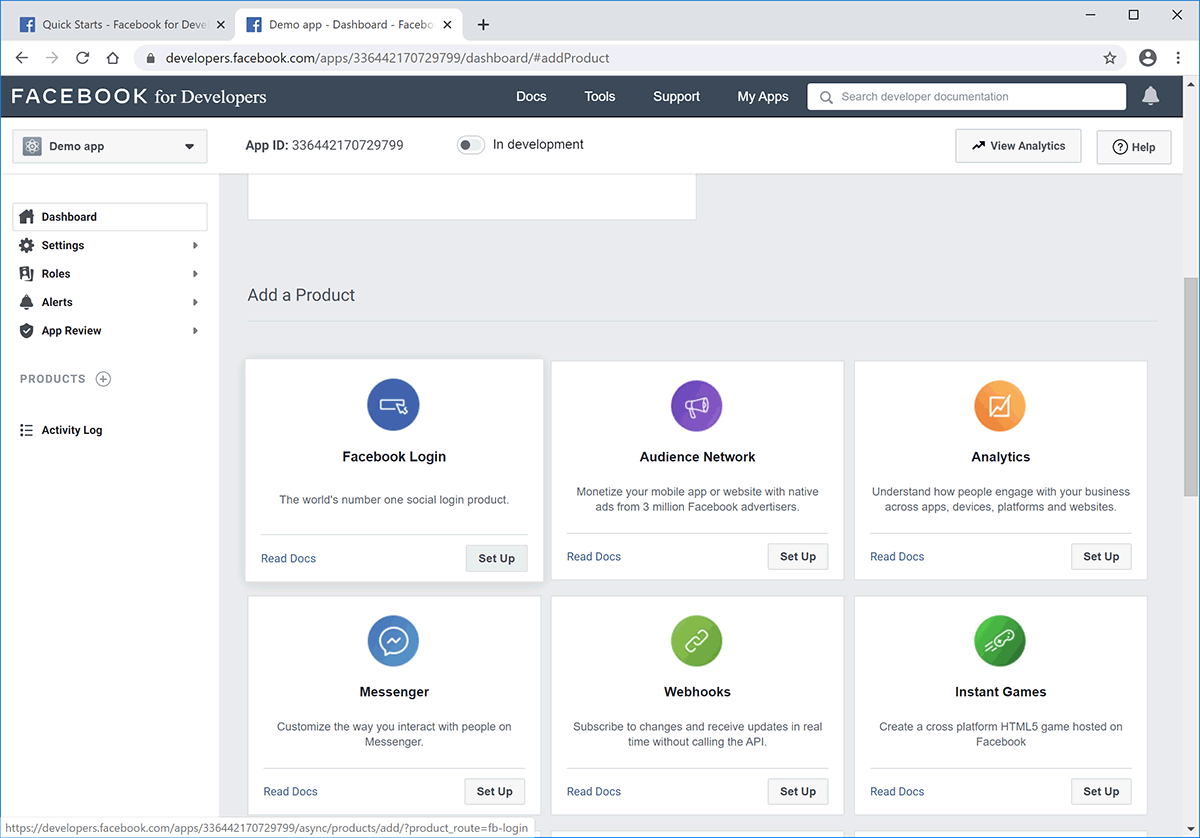
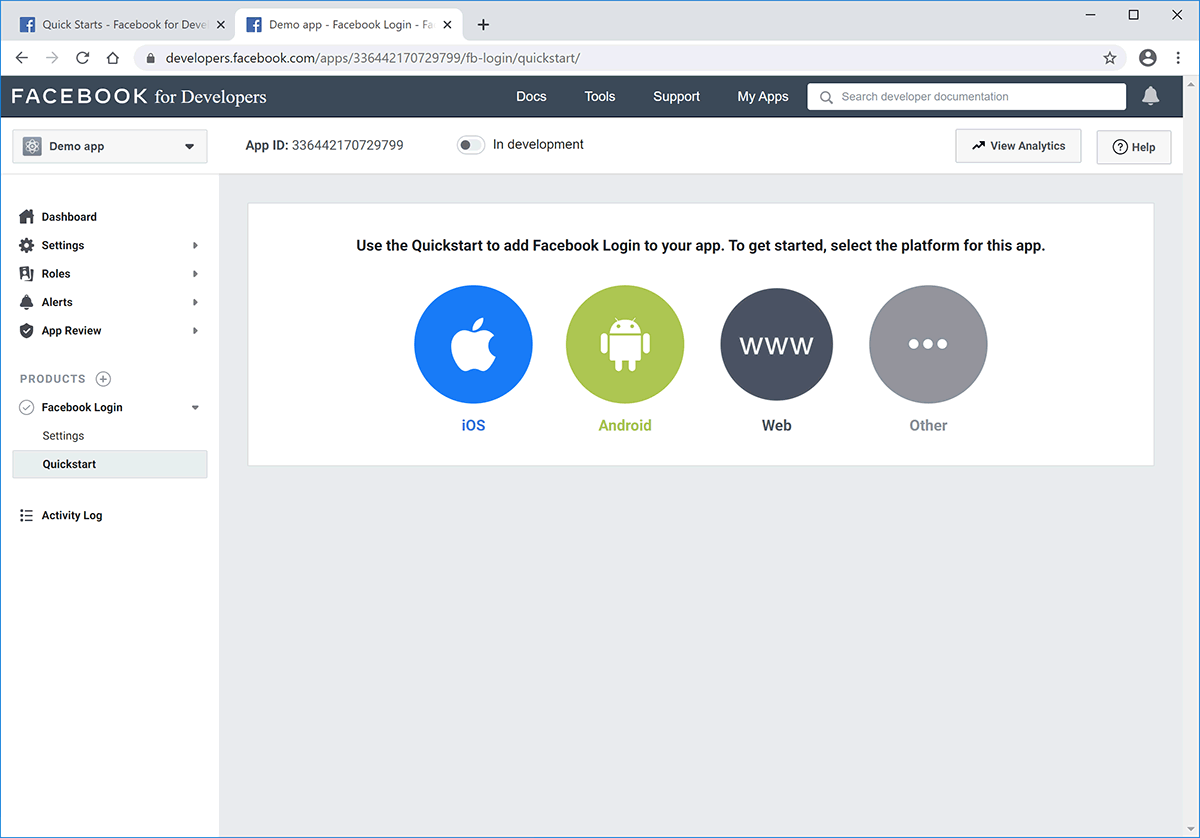
Now click on "PRODUCTS (+)" from left navigation, find "Facebook Login" box and click "Set Up" button.
Select "Web" circle.
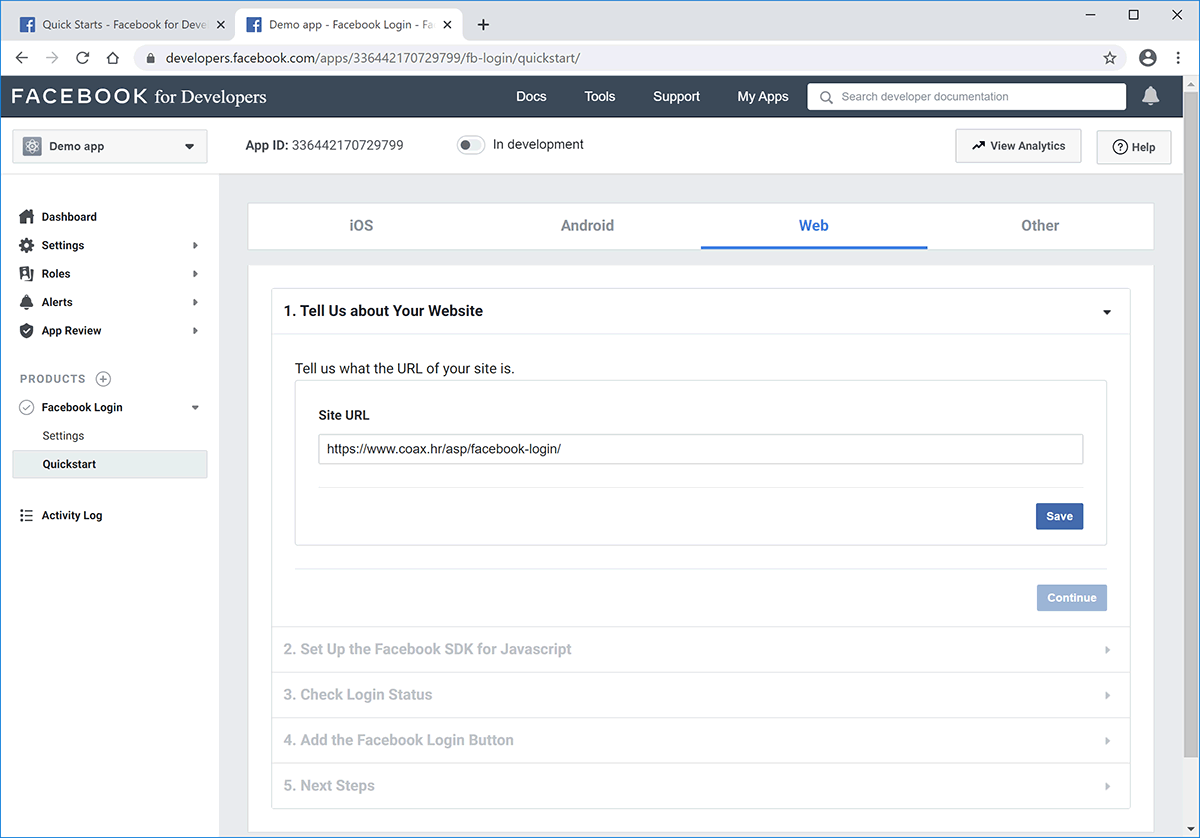
"Site URL" should already be filled with your domain from several steps before, click "Save" then click "Settings" from left navigation under "Facebook Login".
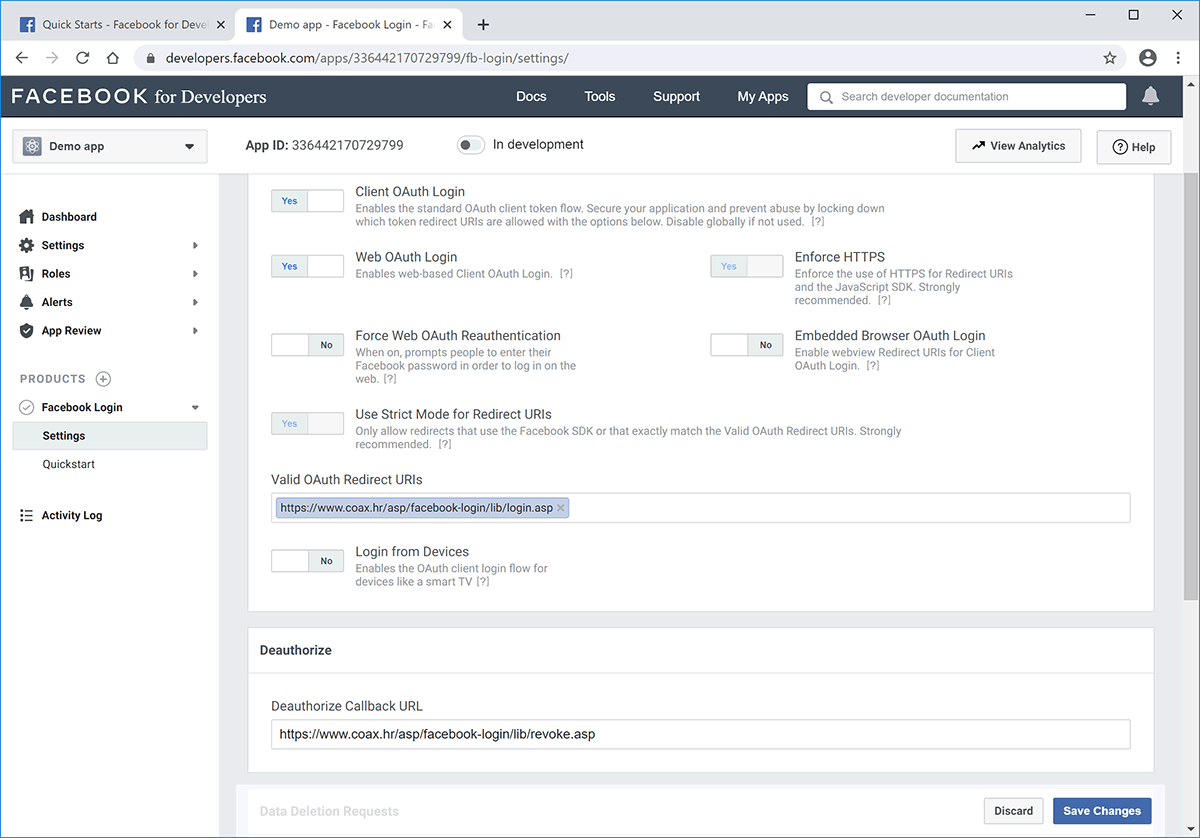
Almost there. Enter URL to lib/login.asp on your server into "Valid OAuth Redirect URIs", URL to lib/revoke.asp into "Deauthorize Callback URL" and click "Save Changes" button.
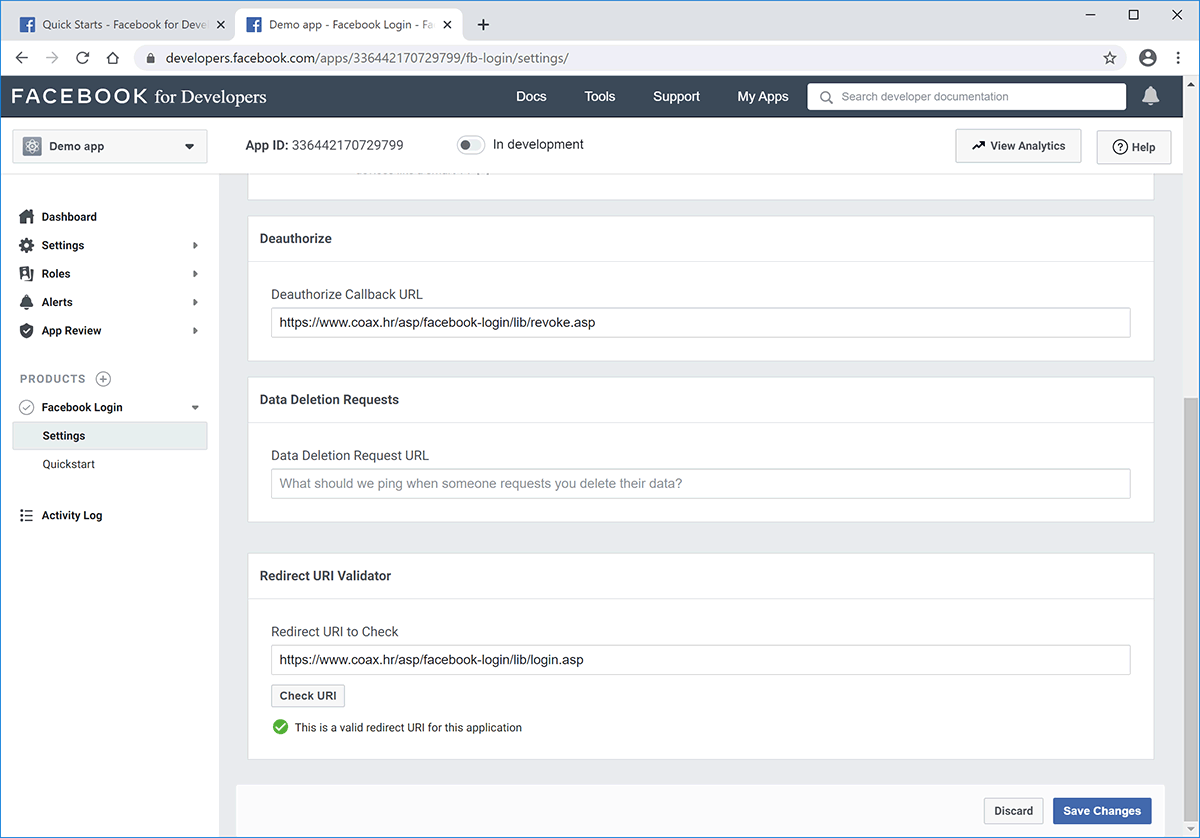
You can immediately check if it's working by entering URL to lib/login.asp on your server into "Redirect URI Validator" box and clicking "Check URI" button. It should display "This is a valid redirect URI for this application" which means everything is set up okay.
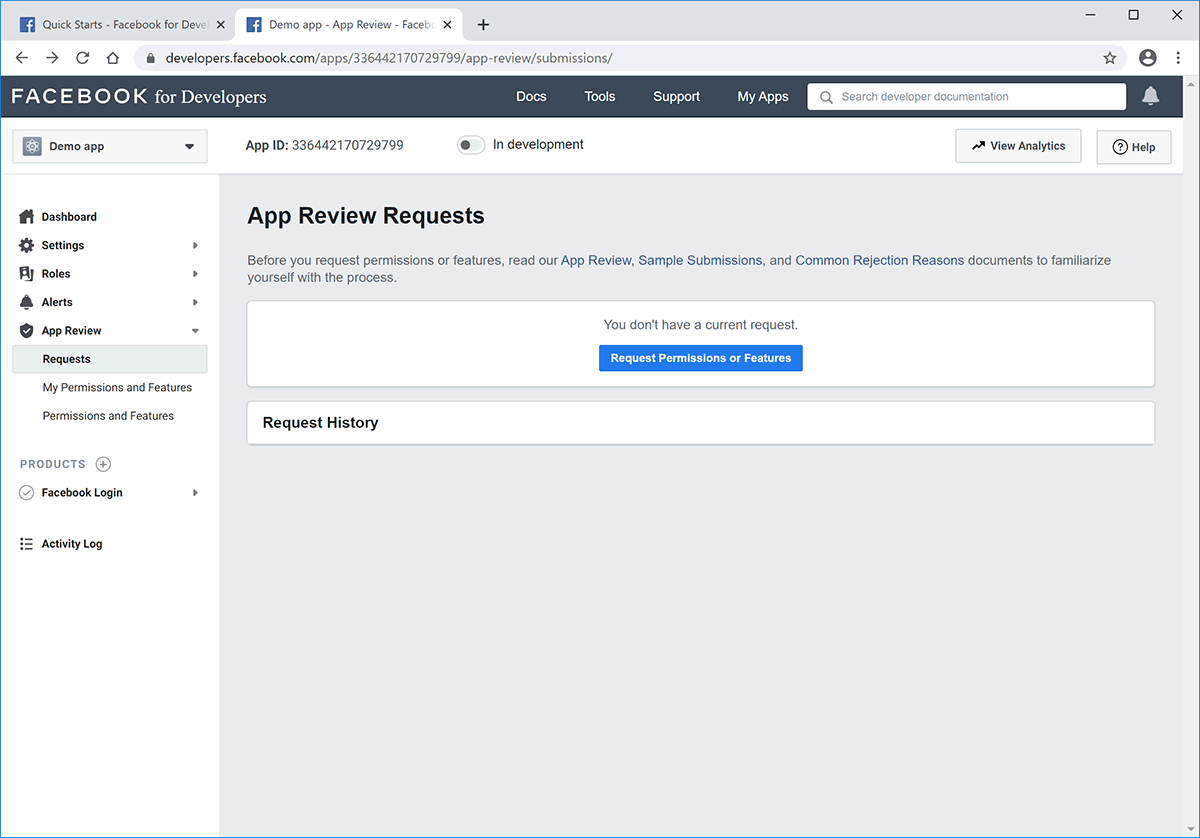
This step is optional and only if you need more data from users logging in trough your Classic ASP: Facebook Login script. If you need more than basic info, you'll need to apply for "App Review" and explain to Facebook which additional fields you need and why. Process takes up to one week.
When done, click on "Dashboard" from left navigation. Enable the App by toggling "In development" slider on top of the page and confirm it by clicking "Switch Mode" in modal pop-up.
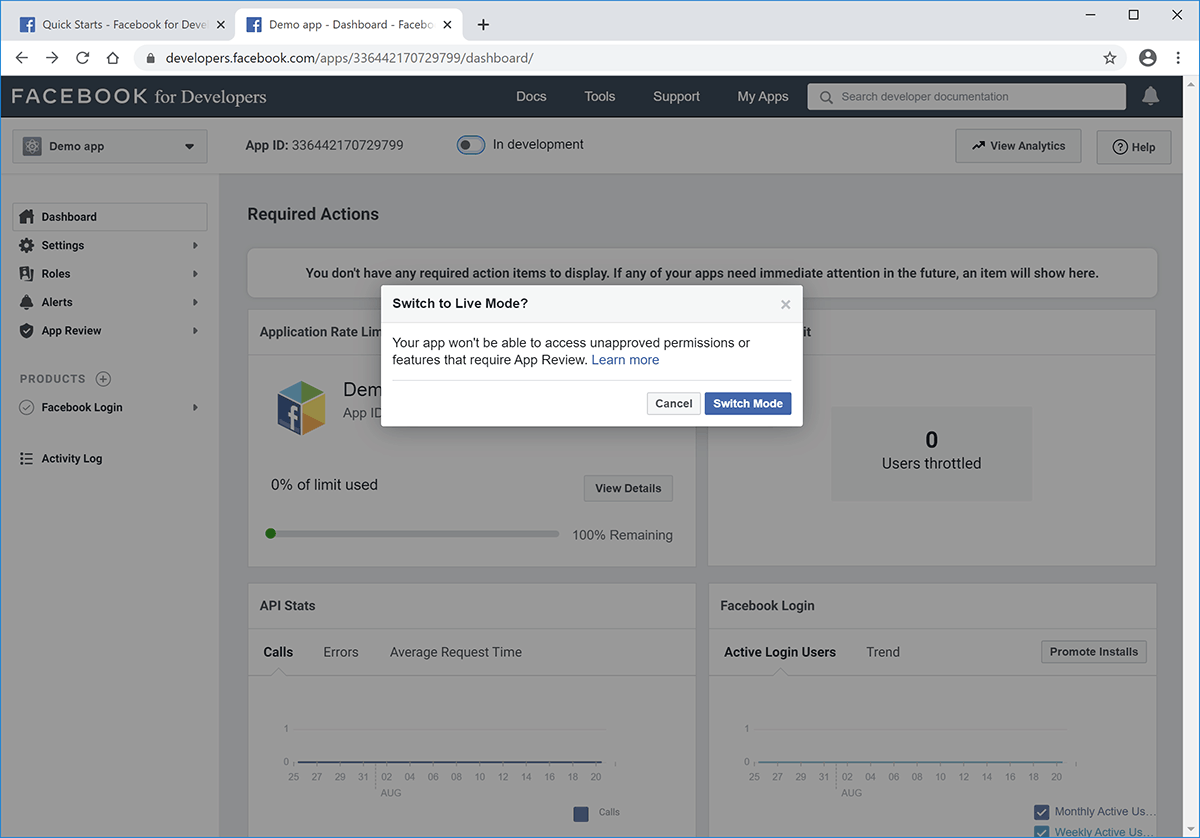
You are now finished configuring your own Facebook App and the slider on top next to App ID should display "Live".